> ## Documentation Index
> Fetch the complete documentation index at: https://mooncamp.com/docs/llms.txt
> Use this file to discover all available pages before exploring further.
# Cycles
> An overview of Mooncamp's flexible cycles
## Video tutorial
In case you don’t feel like reading, here is a video tutorial explaining the cycles.
## How to create cycles
First, let’s navigate to the settings, where you will find a tab for “Cycles” at the bottom.
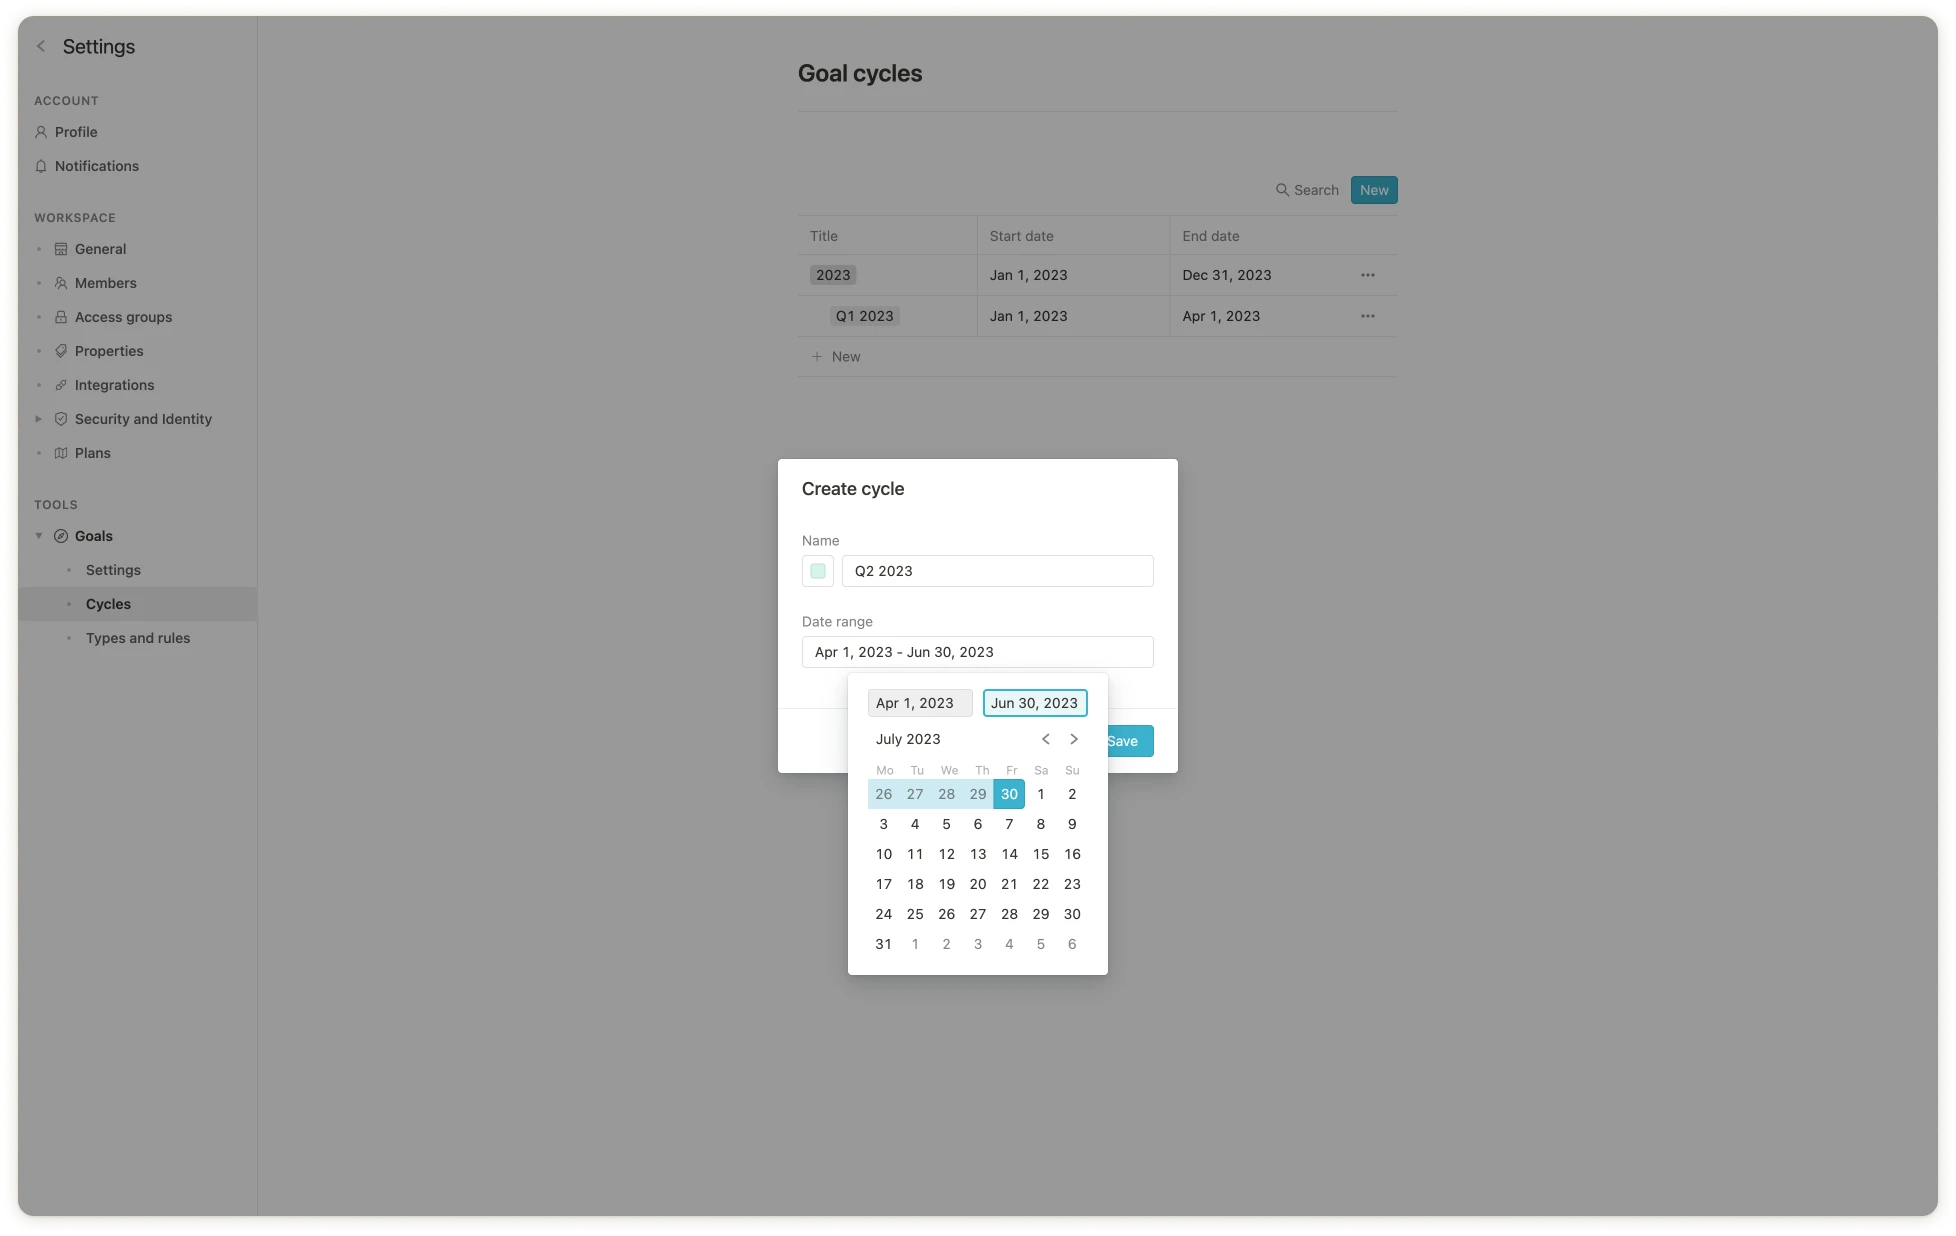
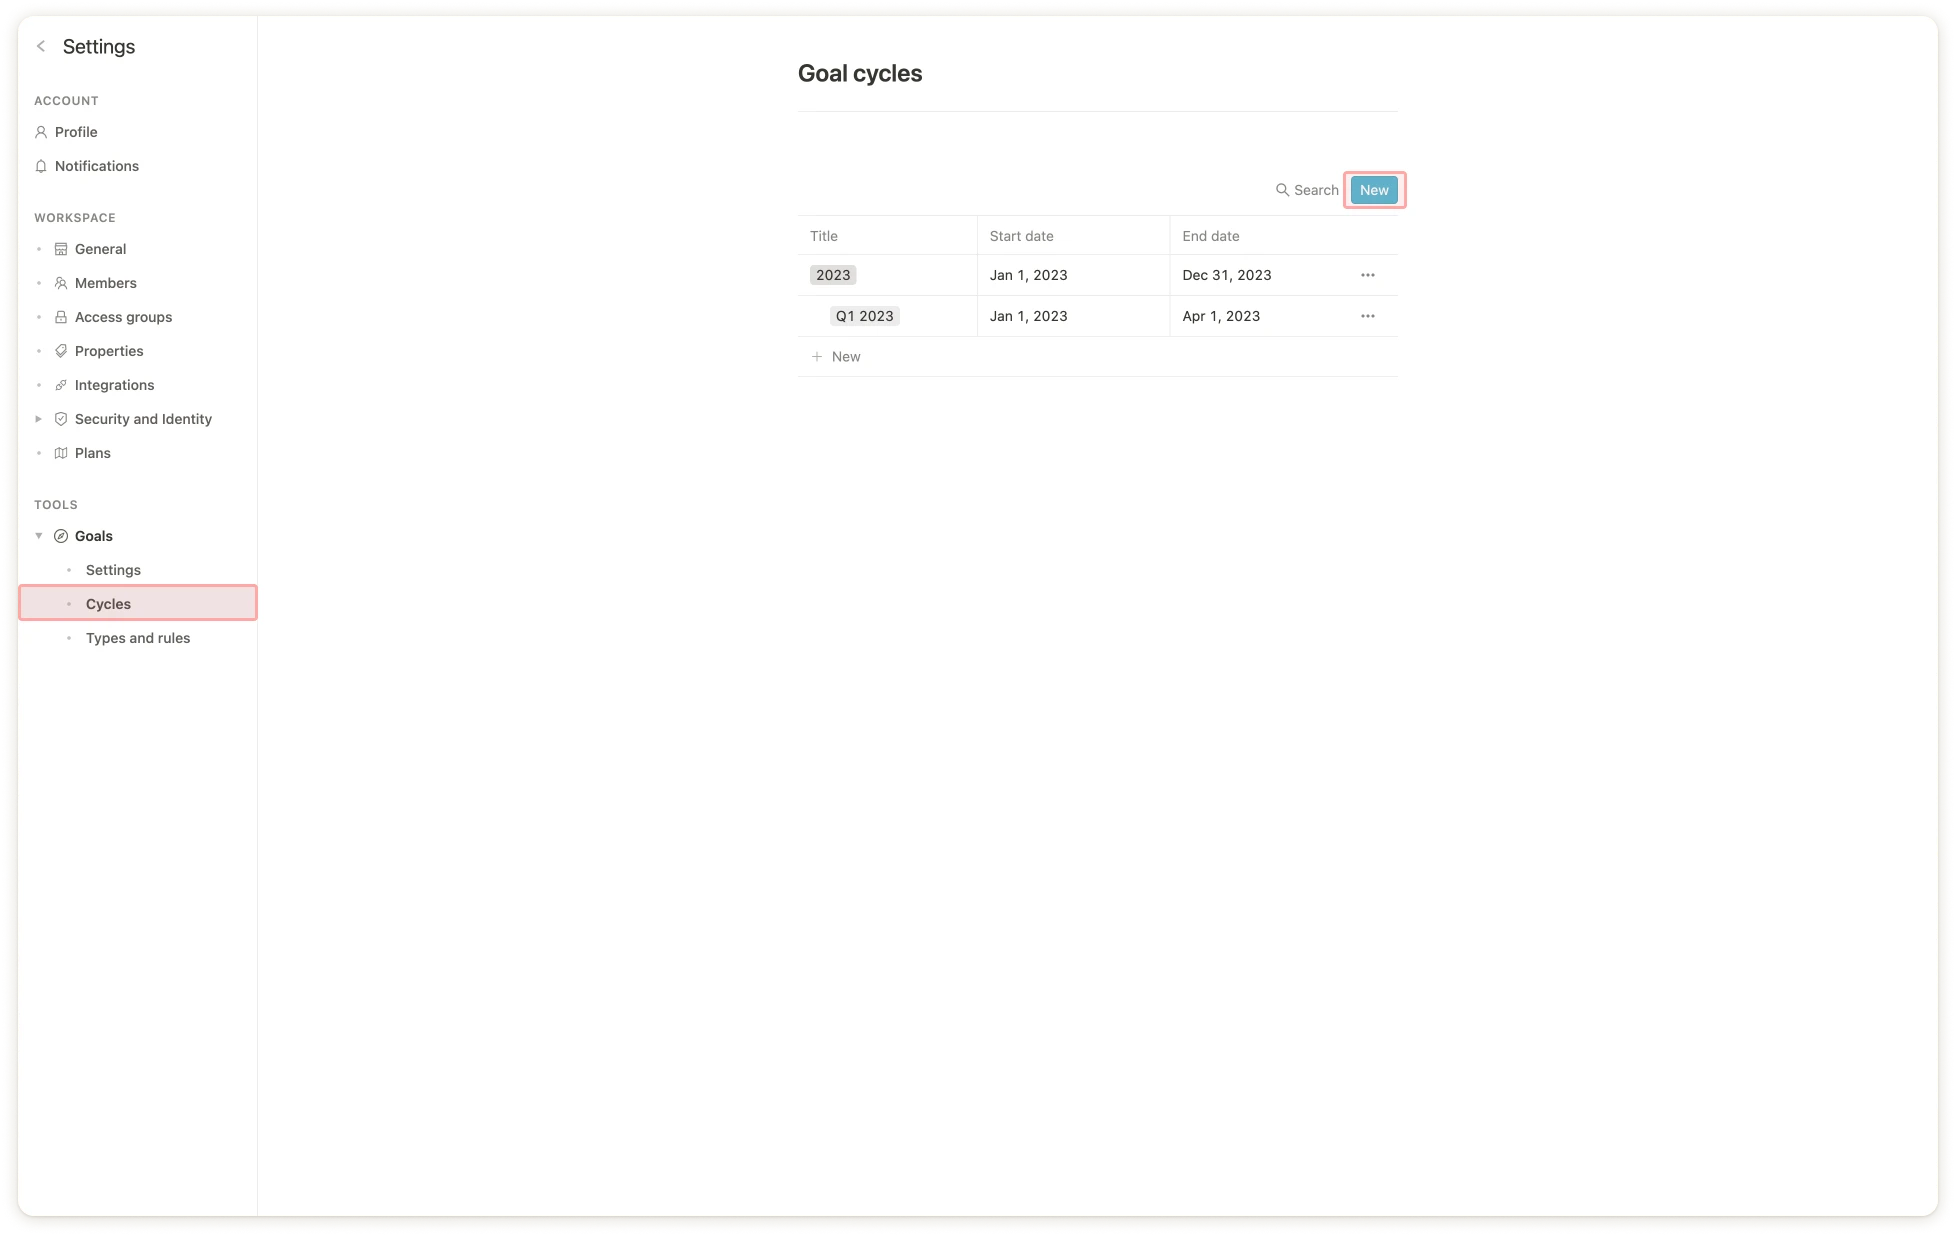 Once there, you click on the blue new button as shown in the screenshot above. Then you just enter the cycle’s name, choose the timeframe, and click “Save”.
 ## Assigning cycles to goals
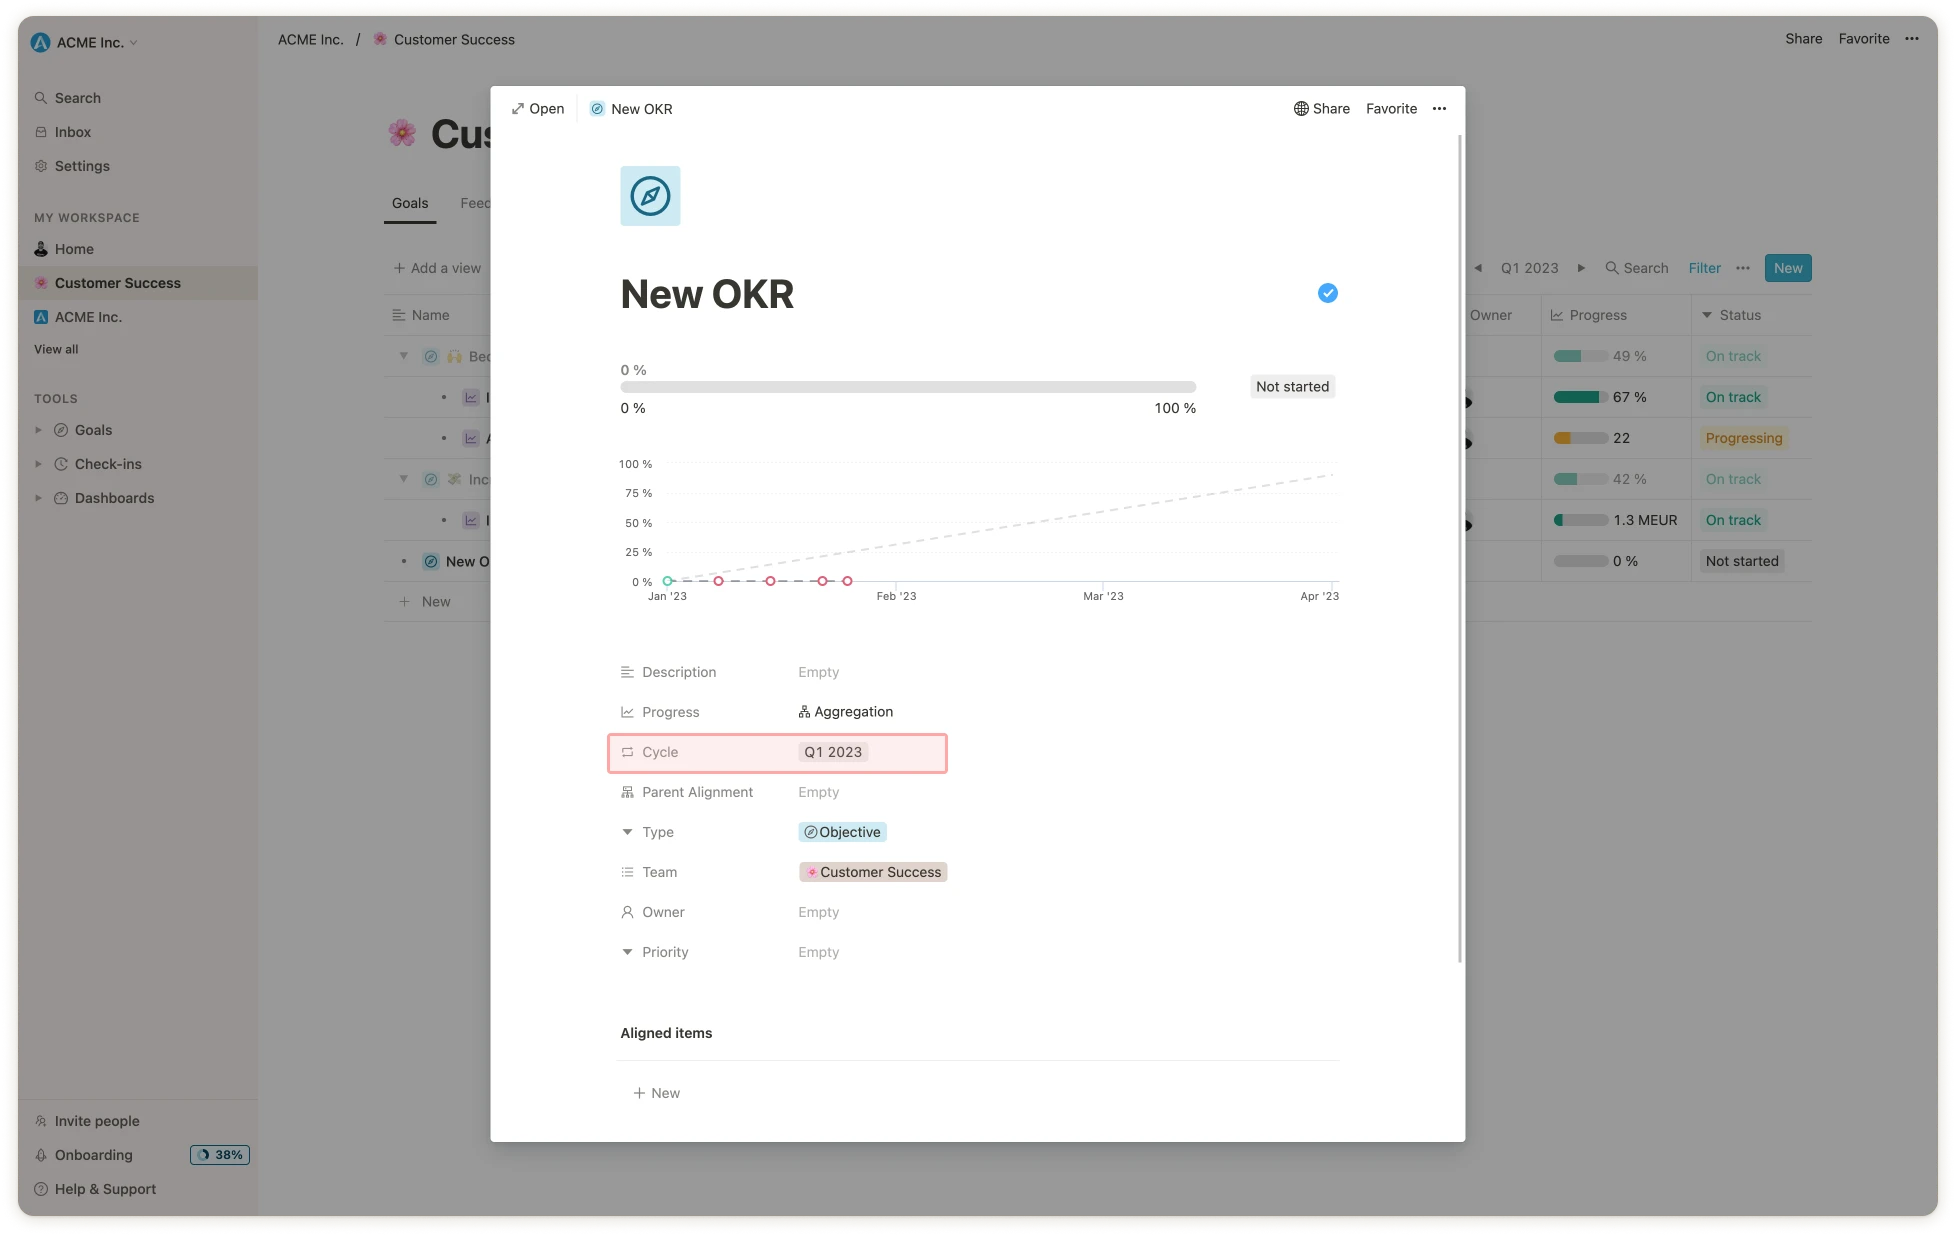
Now that you have created your cycles, you can assign your goals to them. This is usually done automatically by the system when you create a goal. Here is an example:
## Assigning cycles to goals
Now that you have created your cycles, you can assign your goals to them. This is usually done automatically by the system when you create a goal. Here is an example:
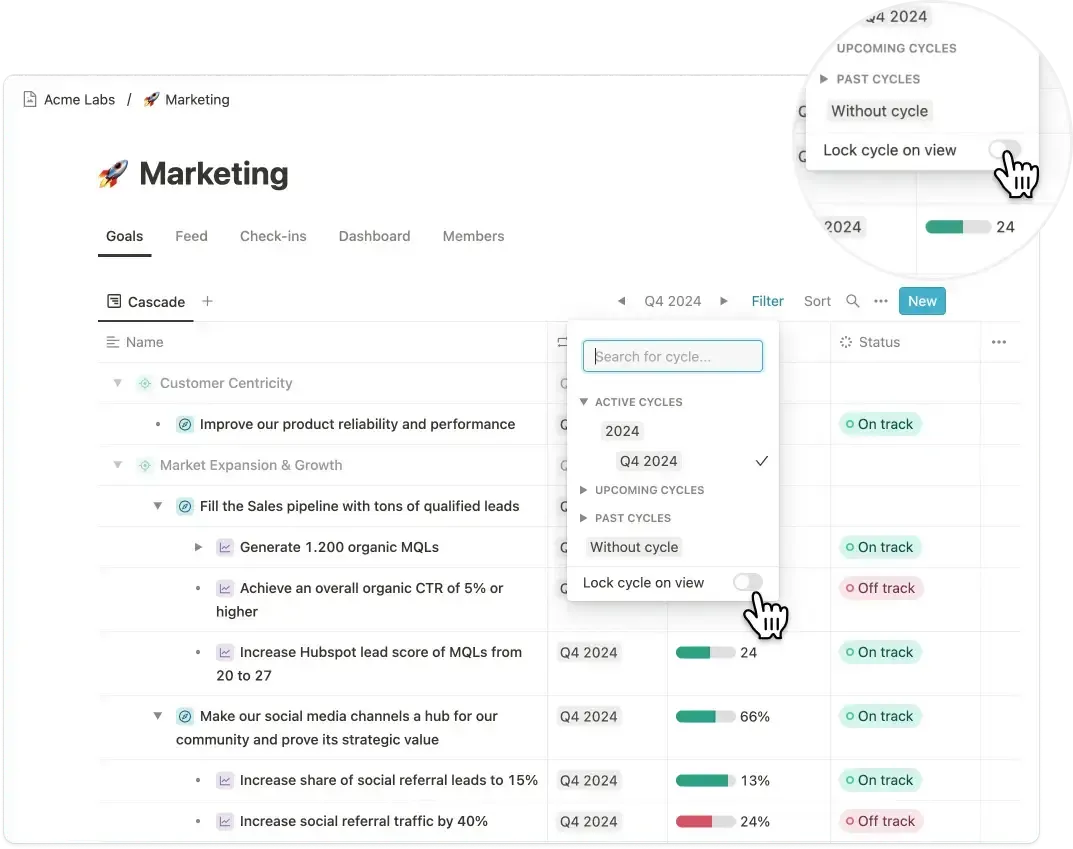
 ## Using the cycle picker
This is an important part of navigating Mooncamp because the goals you can see are based on the cycle you have picked. The cycle picker can be found in the top right corner of any view, as shown in the screenshot below.
## Using the cycle picker
This is an important part of navigating Mooncamp because the goals you can see are based on the cycle you have picked. The cycle picker can be found in the top right corner of any view, as shown in the screenshot below.
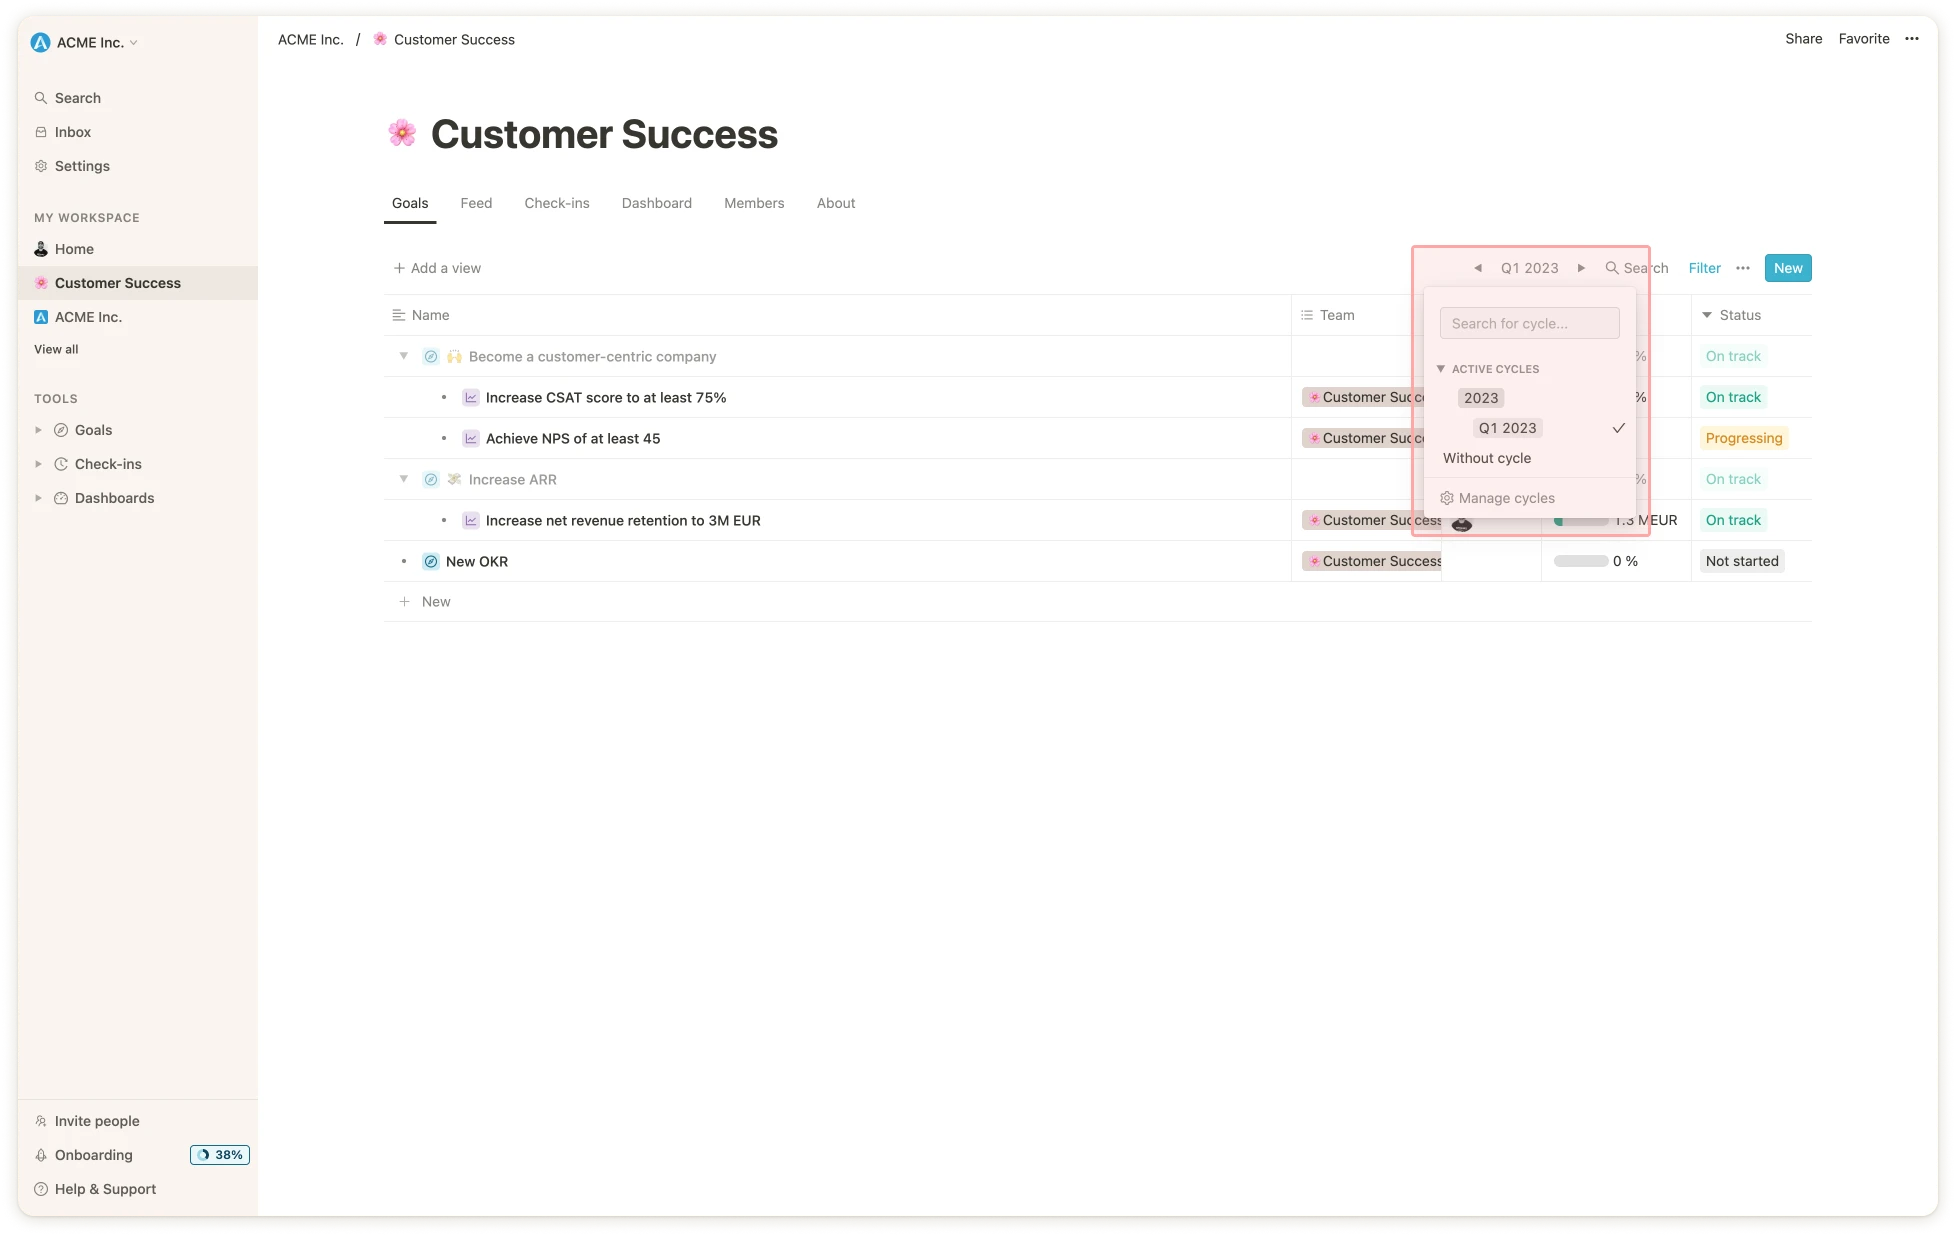 In case you wish to build an overview of goals from different cycles you can simply choose several cycles at once in the cycle picker. To then differentiate in this view, which goal belongs to which cycle, you can display the cycle as a column in the table. To do so, click on the ellipsis `...` in the top right corner > `Properties` > `Cycle` and activate the button.
**Please note:** Be aware that the **cycle pickers settings take effect universally** throughout the app (for your user account), i.e. in goal views as well as the progress and health dashboards.
However, you can lock a cycle within a view, ensuring that users see the exact data you want them to see on goal tables or dashboards. If no cycle is locked, the currently selected cycle for each user will apply automatically.
In case you wish to build an overview of goals from different cycles you can simply choose several cycles at once in the cycle picker. To then differentiate in this view, which goal belongs to which cycle, you can display the cycle as a column in the table. To do so, click on the ellipsis `...` in the top right corner > `Properties` > `Cycle` and activate the button.
**Please note:** Be aware that the **cycle pickers settings take effect universally** throughout the app (for your user account), i.e. in goal views as well as the progress and health dashboards.
However, you can lock a cycle within a view, ensuring that users see the exact data you want them to see on goal tables or dashboards. If no cycle is locked, the currently selected cycle for each user will apply automatically.
 💡 **Tip:** It can happen that **one of your goals gets lost from your view** or you cannot find it anymore. A possible reason can be that you either **did not tag your goal with a cycle** or you **did not specify your cycle** in the cycle picker. Moreover the search function on top of your sidebar could help you in this case.