> ## Documentation Index
> Fetch the complete documentation index at: https://mooncamp.com/docs/llms.txt
> Use this file to discover all available pages before exploring further.
# Azure SCIM integration
> An overview on how to set up user provisioning with Azure via SCIM in Mooncamp.
## User provisioning described
With user provisioning you can get all user profiles from your company’s identity provider (i.e. Azure) synchronized with Mooncamp. This means when a new employee joins or leaves your organization and would need to be added or deleted as a user to Mooncamp, it will happen automatically once the employee gets added or deleted in your identity provider.
User provisioning is an **Enterprise feature** and needs to be configured by Mooncamp first. Additionally, your IT administrators might need to first approve Mooncamp as a provider before you can set up user provisioning.
## Setting up user provisioning with Azure
In order to set up SSO in your account, Navigate to `Settings` → `Security and Identity` → `User Provisioning`
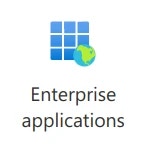
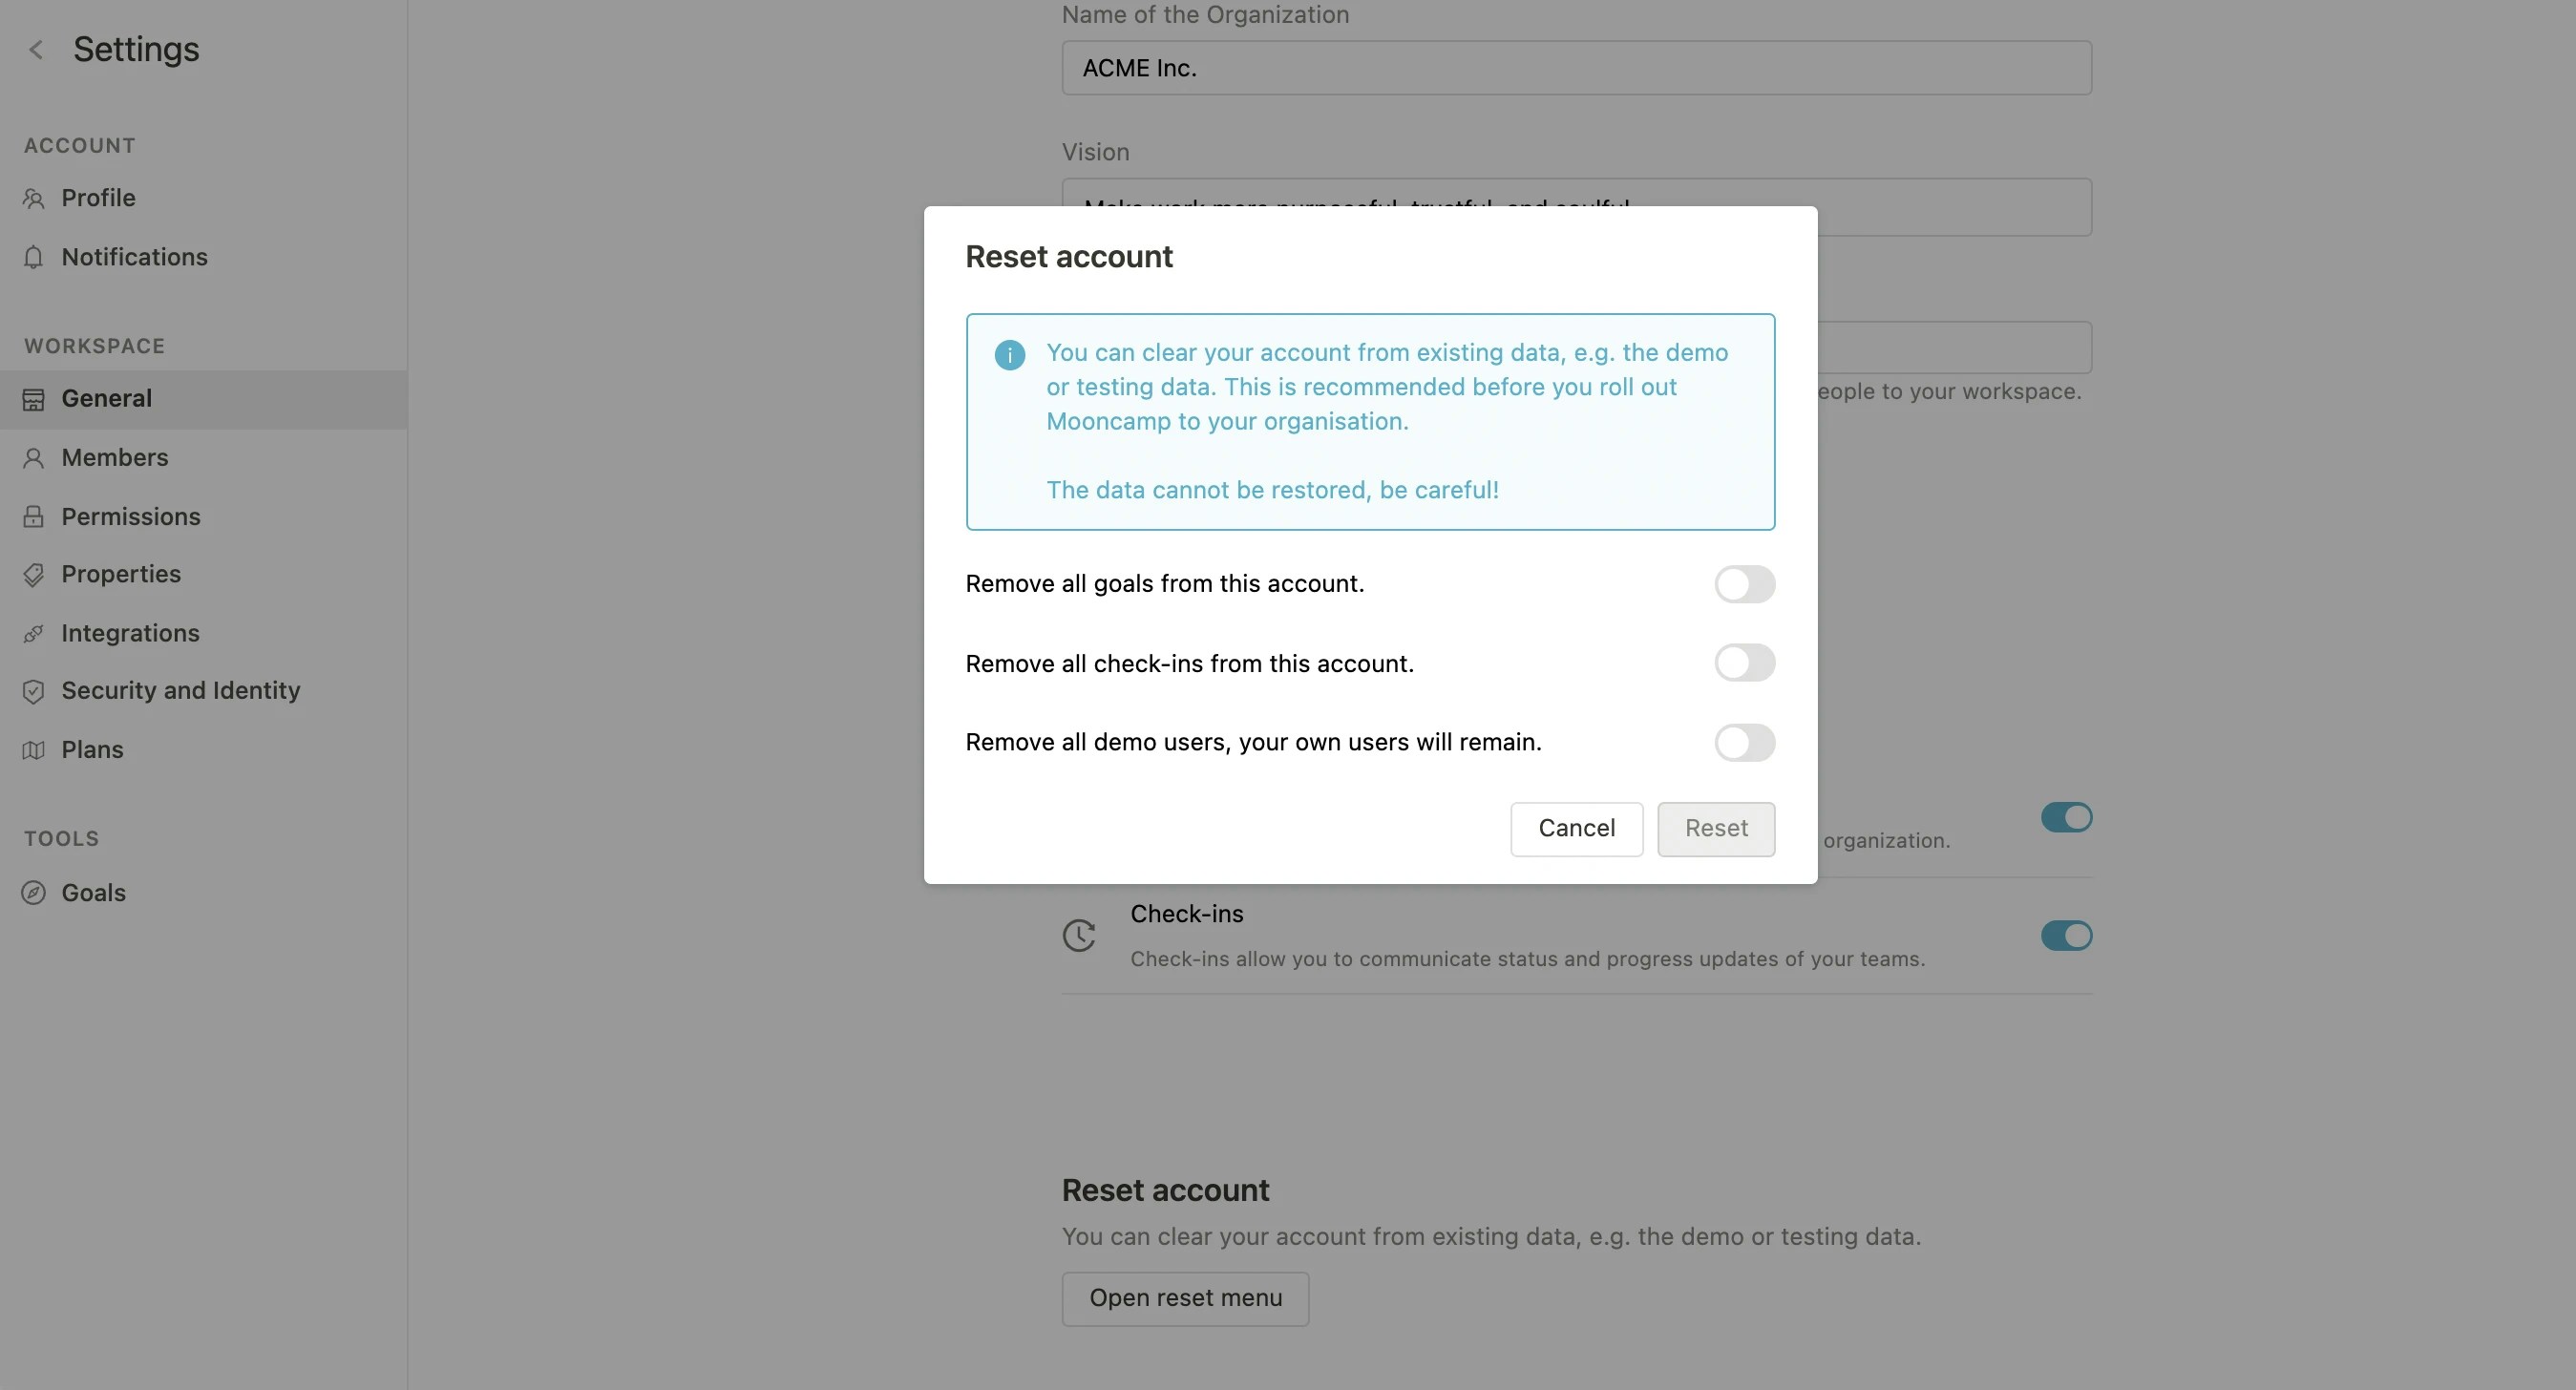 Click on `Activate user provisioning`. User provisioning is now activated for your account. An `API token` is required to initiate configuration at azure. Visit [https://portal.azure.com](https://portal.azure.com) and navigate to `Enterprise applications`.
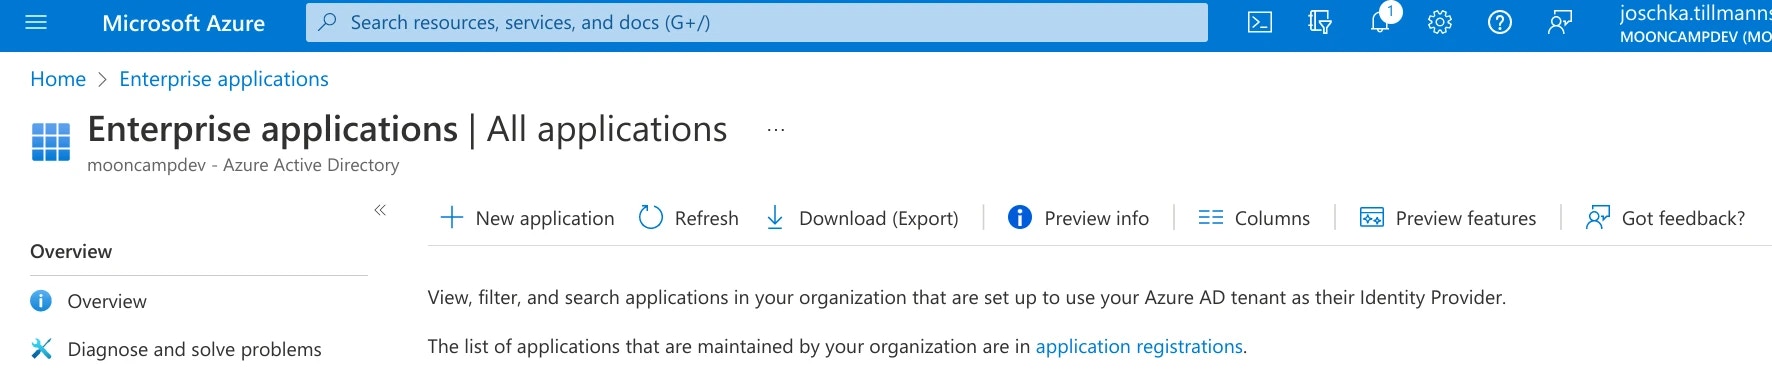
 Click `New application`:
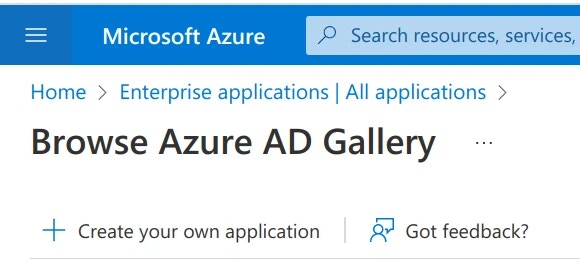
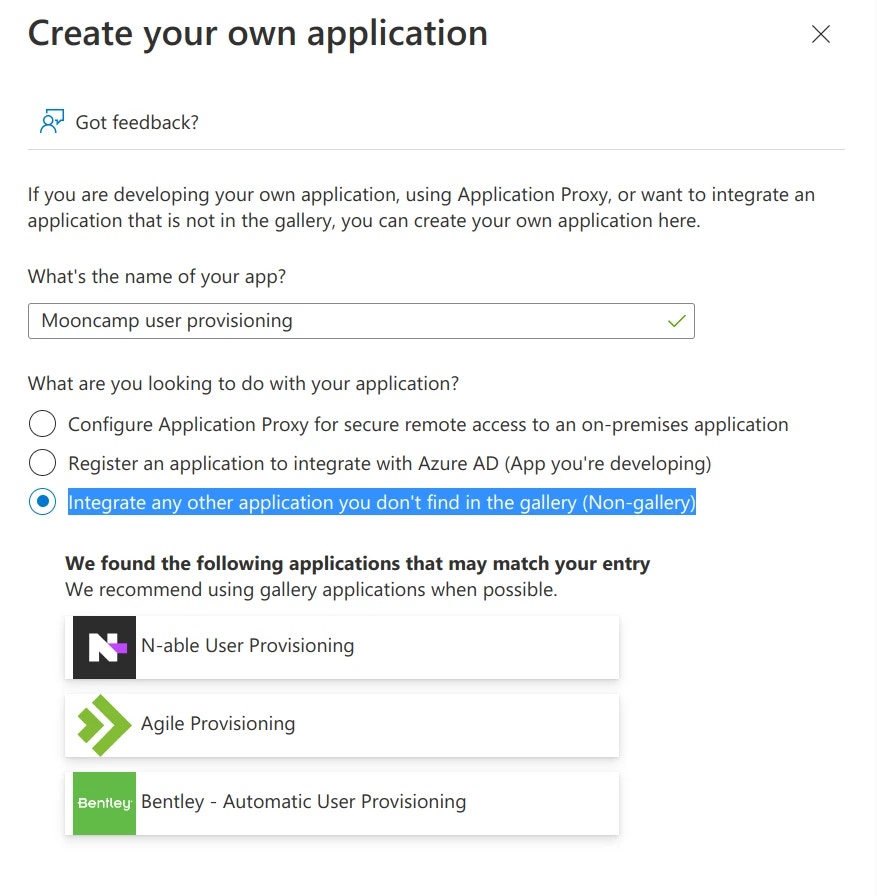
 Click `+ Create your own application` and name the app `Mooncamp user provisioning`:
 Select `• Integrate any other application you don't find in the gallery (Non-gallery)` and click `Create`. You can ignore the suggestions found from gallery applications.
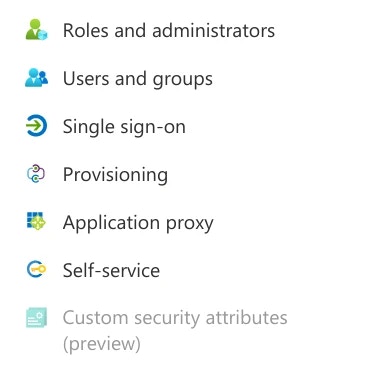
 Navigate to `Provisioning` and click `Get started`:
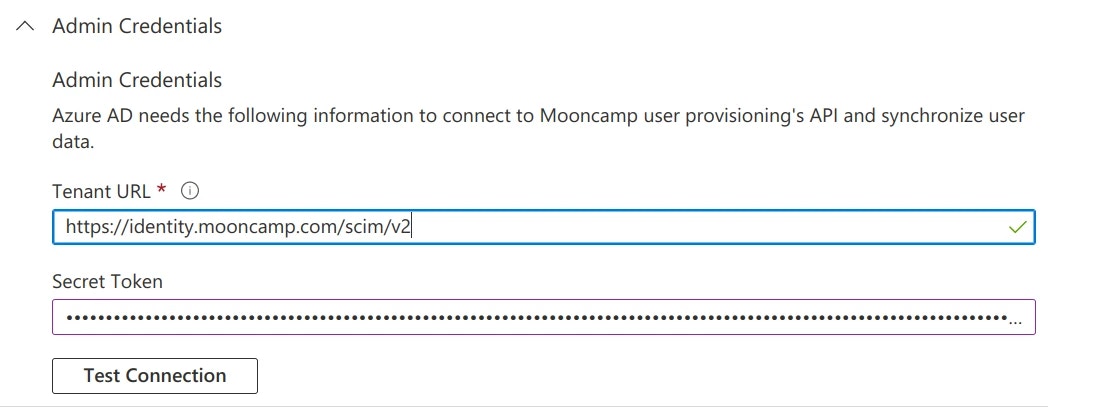
 Then select `Provisioning Mode` → `Automatic`. As a Tenant URL add: *[https://identity.mooncamp.com/scim/v2](https://identity.mooncamp.com/scim/v2)* and under Secret Token insert the `API token` copied from Mooncamp’s setting menu.
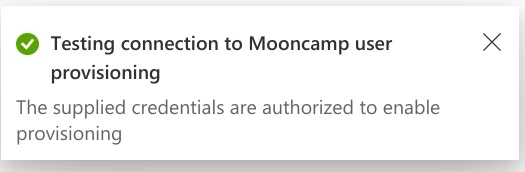
 After clicking `Test Connection` you should get a positive feedback.
 Click on `Save`, expand `Mappings` and click on `Provision Azure Active Directory Users`. Find the entry mapping and select it. Set the `Matching precedence` to 2 and click `Ok`.
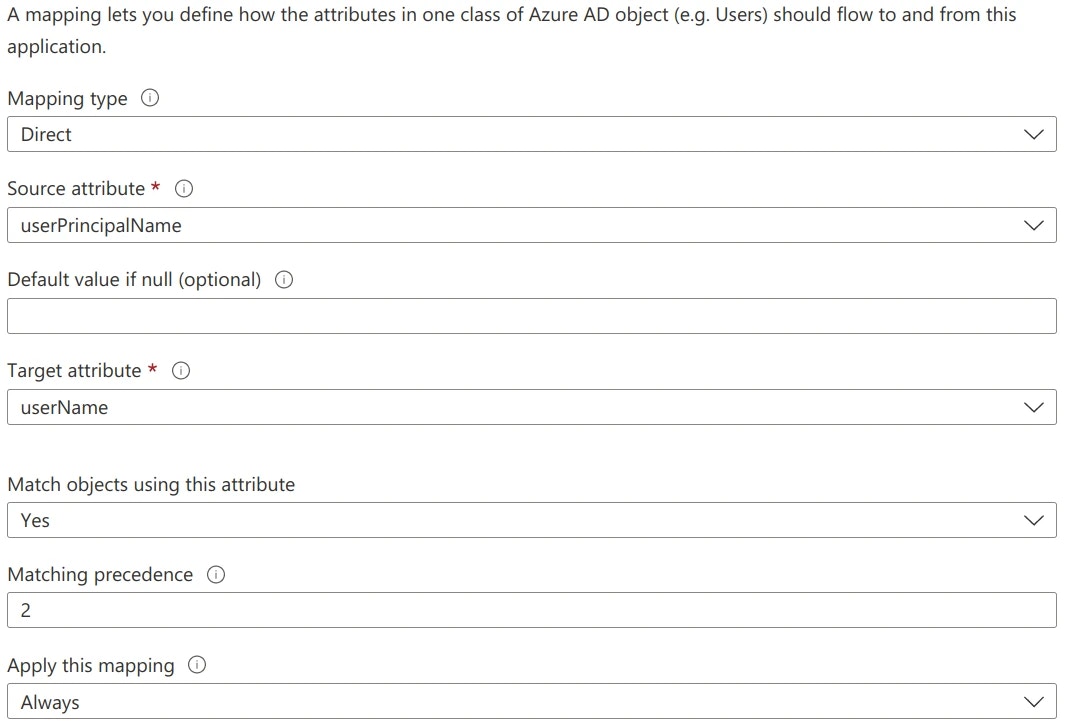 Find the entry mapping and select it. Change `mailNickname` to `objectId` and set `Match objects using this attribute` to `Yes`. `Matching precedence` should be `1`. Click `Ok`.
Click again on the entry mapping `userPrincipalName` → `userName` and set `Match objects using this attribute` to `No` leaving us with a single entry configuring a `Matching precedence`.
Find the entry mapping and select it. Change `mailNickname` to `objectId` and set `Match objects using this attribute` to `Yes`. `Matching precedence` should be `1`. Click `Ok`.
Click again on the entry mapping `userPrincipalName` → `userName` and set `Match objects using this attribute` to `No` leaving us with a single entry configuring a `Matching precedence`.
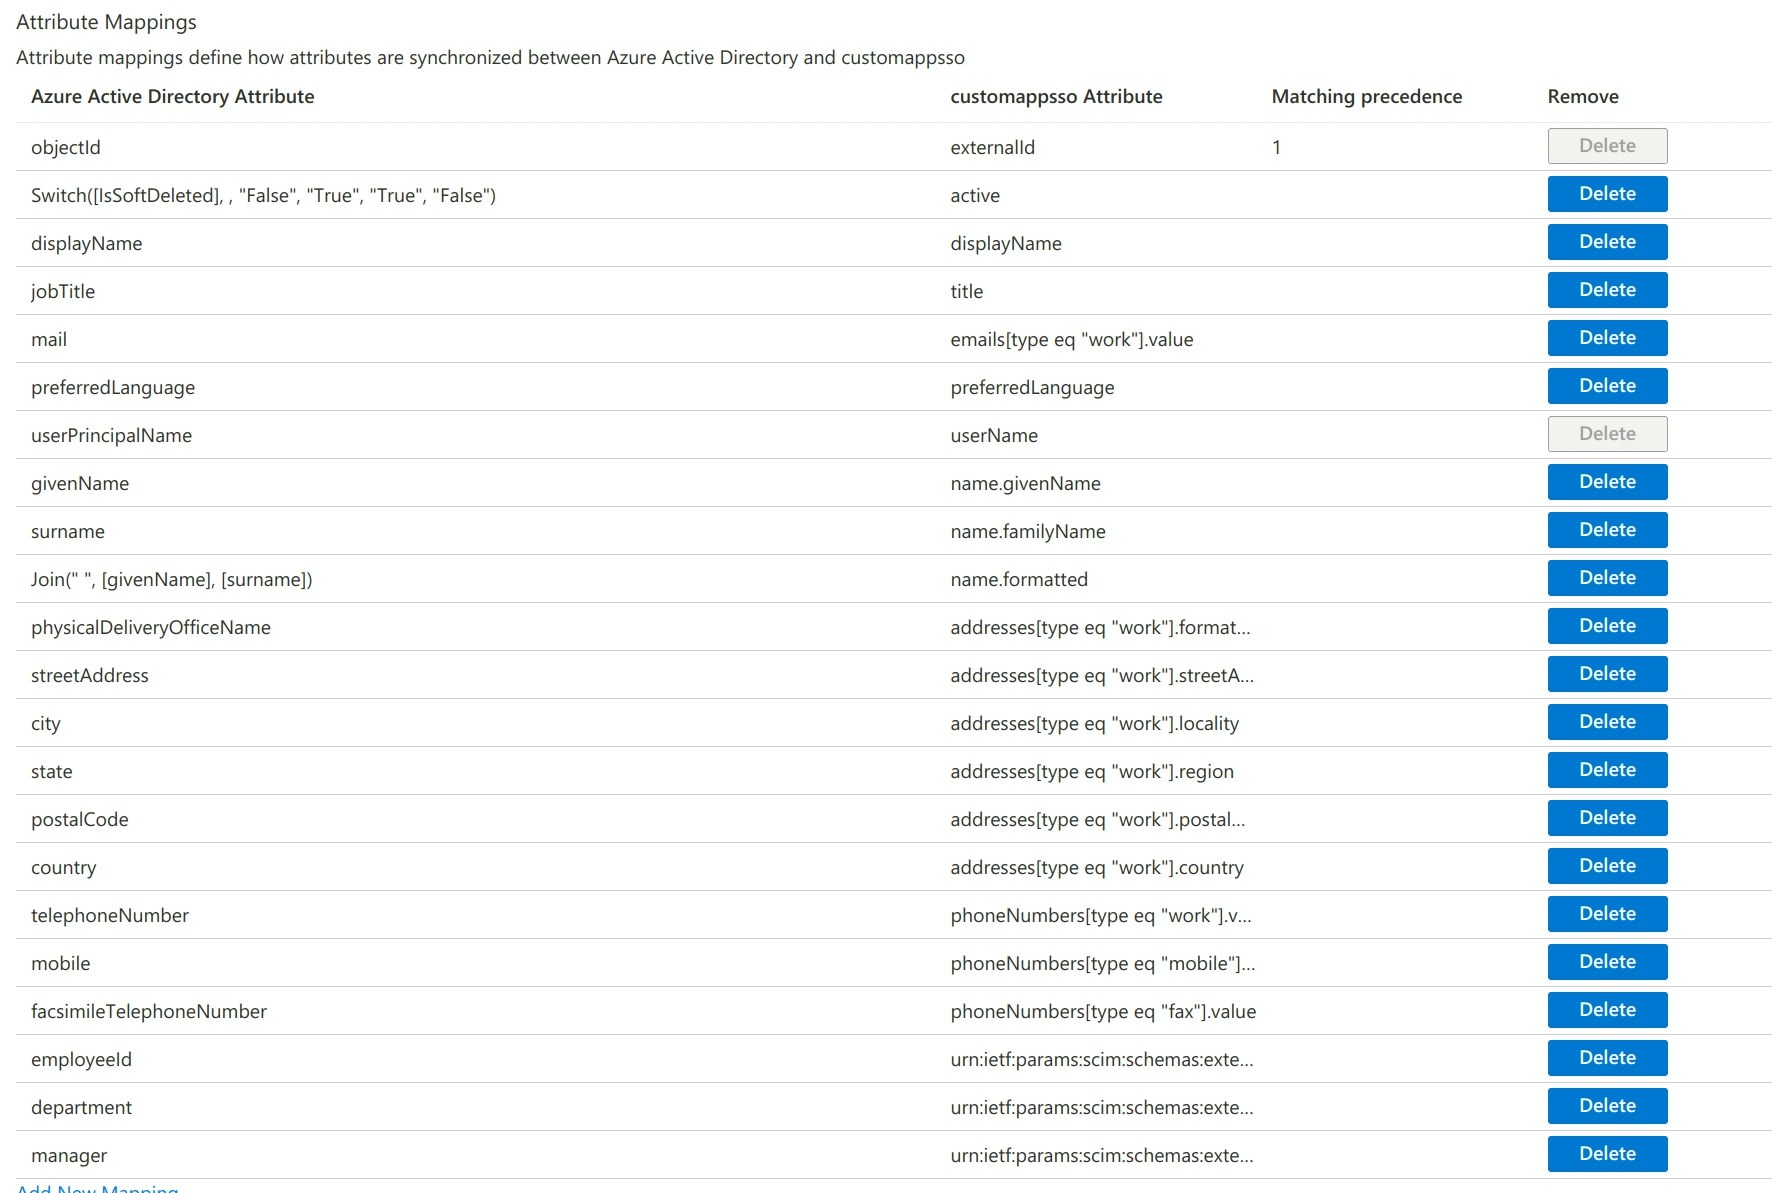 Click on `Save` and then on `Provisioning` at the top of the page.
 Select `Provision Azure Active Directory Groups`. Find the entry mapping and select it. Set the `Matching precedence` to `2`. Click on `Ok`. Find the entry mapping and select it. Set `Match objects using this attribute` to `Yes`. Again find the entry mapping `displayName` → `displayName` and set `Match objects using this attributes` to `No`.
 Click on `Save`and configure `Users and groups` according to your requirements. Click on `Start provisioning`.
 It can take up to an hour until the initial run of the provisioning is started. If the initial run is complete you can start pulling in the users into Mooncamp.
Navigate again to `Settings` → `Security and Identity` → `User Provisioning` within Mooncamp. You should now see that there are users available to be synced to Mooncamp
It can take up to an hour until the initial run of the provisioning is started. If the initial run is complete you can start pulling in the users into Mooncamp.
Navigate again to `Settings` → `Security and Identity` → `User Provisioning` within Mooncamp. You should now see that there are users available to be synced to Mooncamp
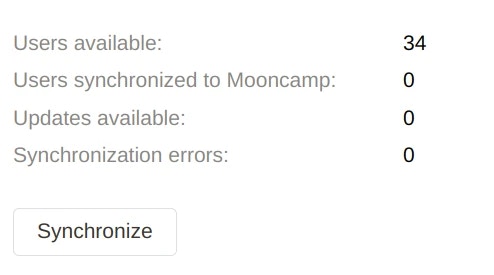 Click on `Synchronize` to push these users to Mooncamp. Under `Members` you should now find these users. The `Attribute Mapping` section allows you to map any *SCIM attribute* to *Mooncamp Properties*. Read more about *Mooncamp Properties* here: [Properties](/properties).
Users are automatically synchronized to Mooncamp daily. To immediatly synchronize any change provisioned through Azure use the `Synchronize` button.
Click on `Synchronize` to push these users to Mooncamp. Under `Members` you should now find these users. The `Attribute Mapping` section allows you to map any *SCIM attribute* to *Mooncamp Properties*. Read more about *Mooncamp Properties* here: [Properties](/properties).
Users are automatically synchronized to Mooncamp daily. To immediatly synchronize any change provisioned through Azure use the `Synchronize` button.