What are Check-ins?
A check-in is an update from an employee on their work progress. Employees can, for example, enter updates of their goals/OKRs in a weekly cycle, comment on them and also answer various questions, such as:- What did you work on last week?
- What are your priorities for this week?
Why should you use Check-ins?
(Weekly) Check-ins are a simple tool to keep goals and OKRs top of mind, let everyone see what others are working on, discuss progress and new insights, and uncover where mutual support is needed. It ensures continuous feedback and learning, as well as a high level of participation and accountability in teams.How can Check-ins be created?
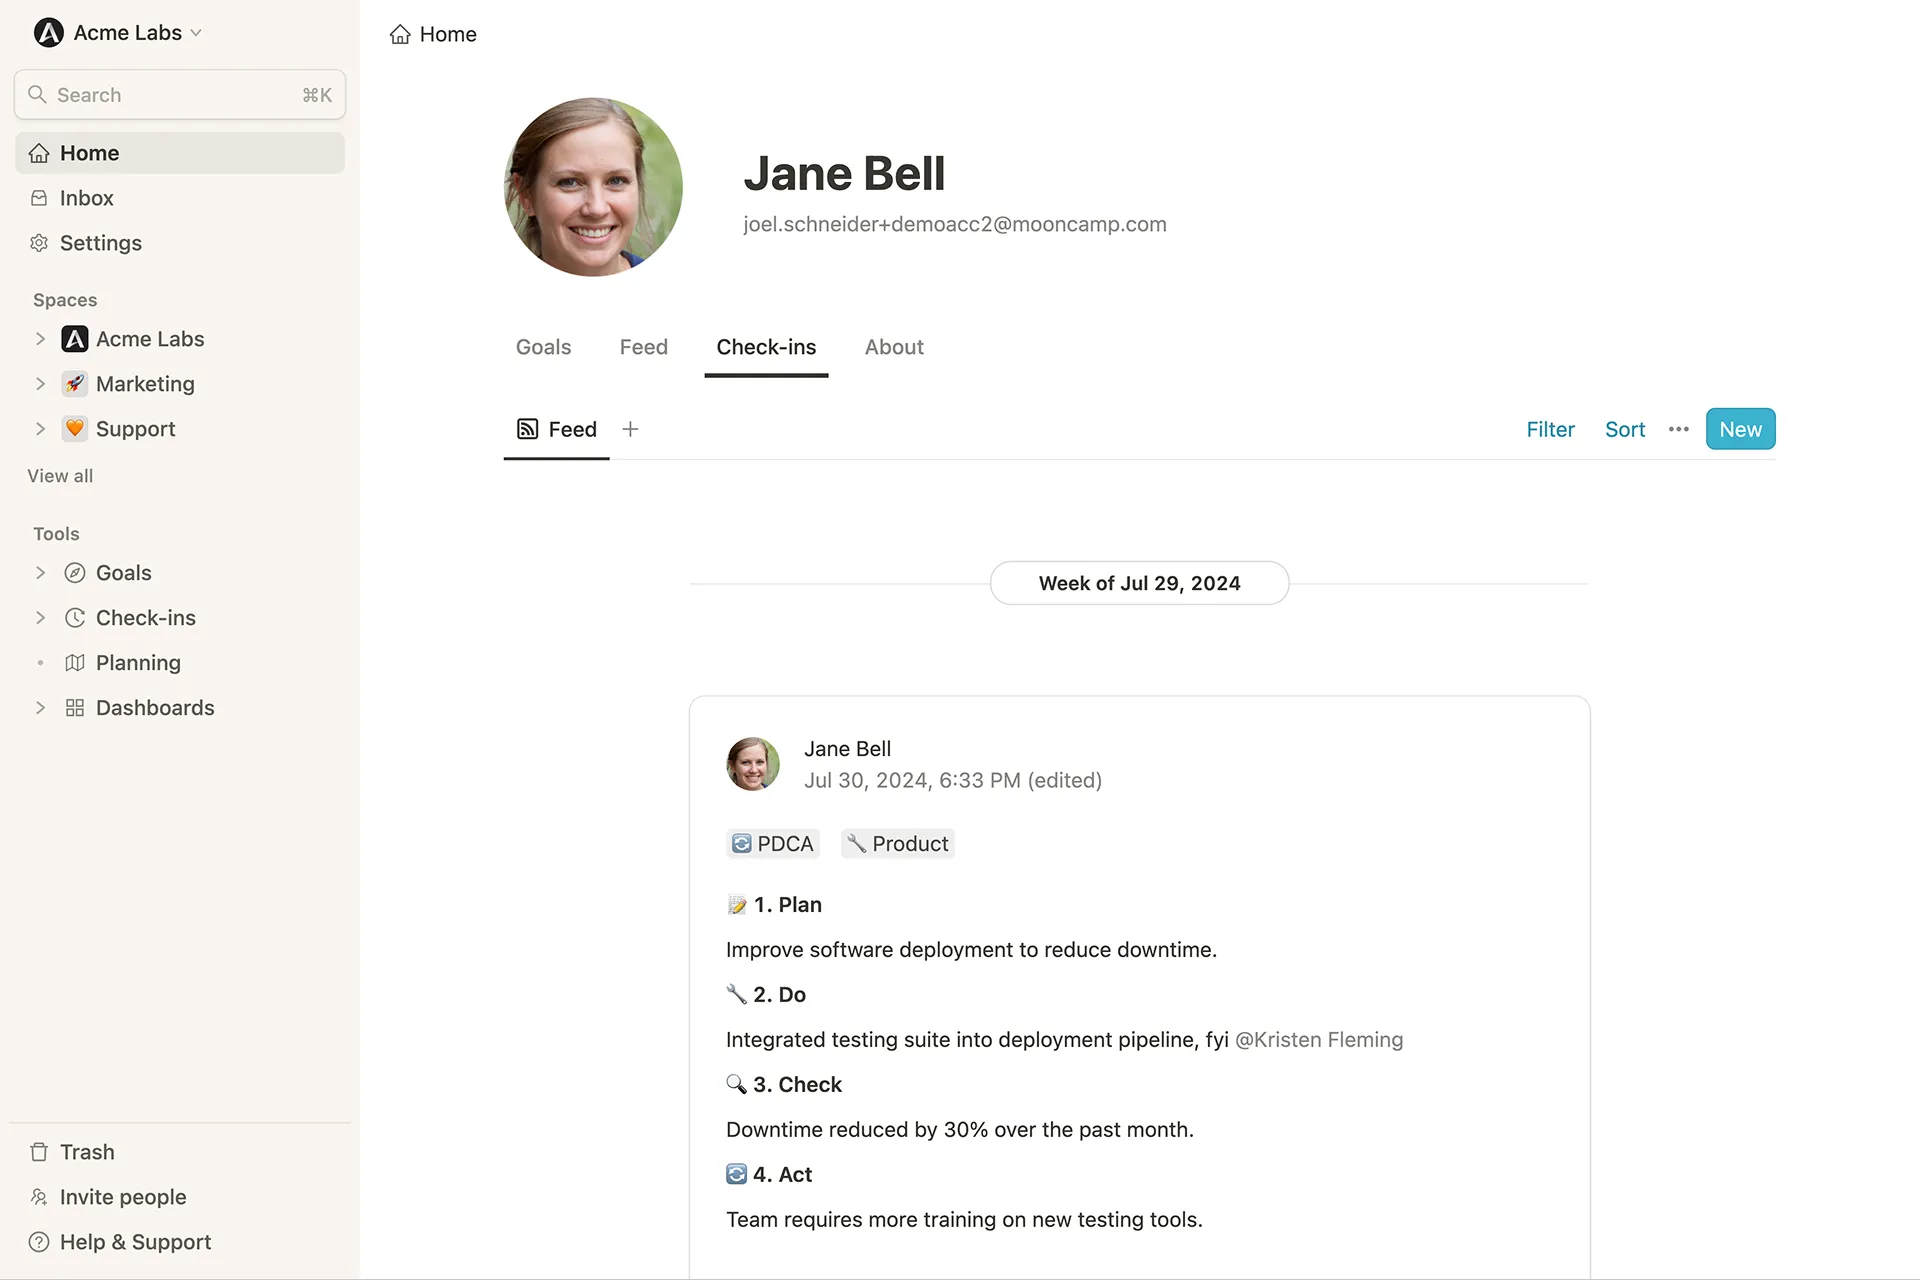
Check-ins can be created by- clicking on
Newunder theCheck-instab on your homepage or teamspaces - navigating to Check-ins under Tools and clicking on
New.
Create templates for check-ins
You can create templates for your check-ins with specific questions that you would like the check-in recipients to reply to. Further you can add infos or instructions on how recipients are supposed to fill-in their check-in. To create a new template, navigate to theCheck-ins tool and click on the tab Templates.
Step 1: Click on the New button to create a new template.
Step 2: Give the new template a title and add an icon, if you wish.
Step 3: In case you would like to use the template only for check-ins of one or more specific team(s), choose these from your list.
Step 4: Start typing questions for your check-in recipients to reply to each time the check-in is sent out to them. Further you can note down instructions on how recipients are supposed to fill-in their check-in.
Step 5: Use the Access button in the top right corner to allow further colleagues to view or edit the template, e.g. in case it needs to be adjusted at some point.
Step 6: Navigate to the Schedules tab to specify the time and frequency with which your check-in including template should be sent out.
Create schedules for check-ins

Schedules.
Step 1: Name the new schedule to be created.
Step 2: Specify the cadence with which the check-in should be sent out.
Step 3: Select the people who should receive the check-in.
Step 4: Specify the time and frequency with which reminders should be sent.
Step 5: Select the template for the reminder.
Each schedule page also contains an overview of all participants and their participation per check-in as well as the participation rate over time.
Important note: Please be aware that in the participation overview of a schedule page a check-in will only be marked as “Done” when a participant completed it via their e-mail, MS Teams or Slack notification as these contain a direct link to the check-in schedule. Another possible way would be via the check-in explorer > New > and then using the according schedule (e.g. “Weekly Check-in”). If a participant chooses the way via the check-in explorer and uses + New without schedule, their check-in will not be marked as “Done” on any schedule page as it has no link to any schedule.